Contents
- Index
- Previous
- Next
Rotate the Bullet Bitmap
Click on each control or button outlined in the image below to jump to a description of the control function that is located in this topic.
Click on Back to Image to return.
If the link is to another topic then click on the  at the upper left of the page to return.
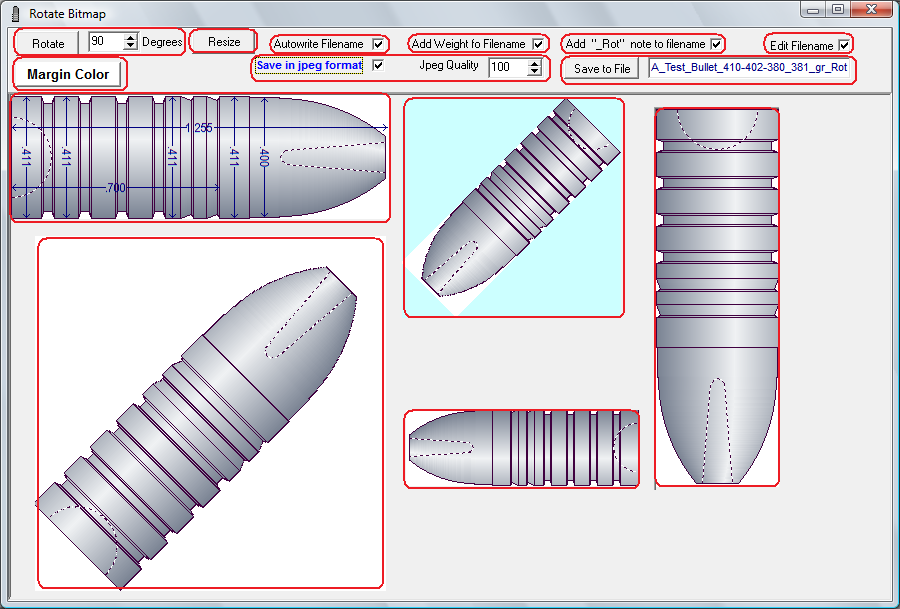

Select Rotation angle and rotate the image:
Use the Spin-Edit field to select a rotation angle then click the "Rotate" button to rotate the image.
The present algorithm in use by the software will only display the full image when the selected rotation angle is between the ranges of 0 to 90 degrees, and 180 to 270 degrees. Work is in progress on a method to display the full image in the remaining angle ranges. When the work is completed, an upgrade will be available for download.
(Backto Image)
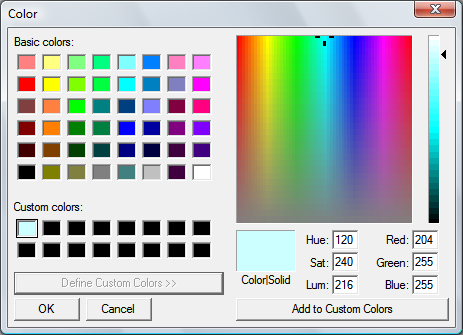
Select Margin Color:
When angles are selected that are not right angles (90, 180, 270 & 360 degrees), a border is drawn around the image. Use the Color Selection Dialog to select a color for the margin.
(Backto Image)
Auto write Filename checkbox:
Check this box to create a filename for the saved image. The name will be a combination of the Vendor name and the bullet ID characters.
(Backto Image)
Add Weight Filename checkbox:
Check this box to add the weight, in grains, of this design to the filename of the saved image.
(Backto Image)
Add Rotate Note to Filename checkbox:
Check this box to add the notation that this is a rotated image.
(Backto Image)
Select Rotation angle and rotate the image:
Use the Spin-Edit field to select a rotation angle then click the "Rotate" button to rotate the image.
(Backto Image)
Save In Jpeg format checkbox:
If this box is checked, the image will be saved in a JPG file format. If the box is not checked the image will be saved in a BMP file format. Jpeg files are significantly smaller than bitmap files and take up less space on the hard drive.
The quality of the Jpg image may be selected using the Spin-Edit window. If the image is of a lower quality then the jpg file will be a smaller file taking up less space on the hard drive.
(Backto Image)
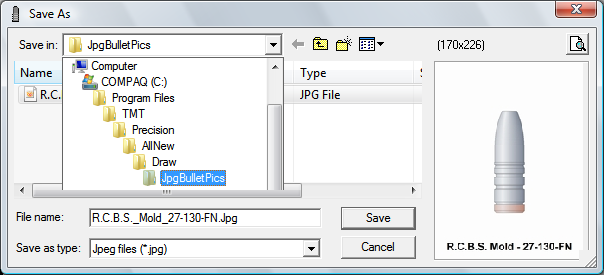
Save the image to a file :
When the "Save to File" button is clicked, the rotated image, as displayed, may be saved to a location of your choice on your computer.
If the "Save as Jpg" checkbox is checked, the default location is a folder located at C:\Program files(x86)\TMT\Precision\AllNew\Draw\JpgBulletPics.
If the "Save as Jpg" checkbox is NOT checked, the default location is a folder located at C:\Program files(x86)\TMT\Precision\AllNew\Draw\BmpBulletPics.
(Backto Image)
Edit the file name before saving:
Check the "Edit Filename" box to enable changes to be made in the Filename field.
(Backto Image)
Rotation of the Images:
Only one rotated image will be displayed at a time. When the Rotate button is clicked, the old image is cleared and a new one is drawn. The image may be saved as-is or Resized before saving.
(Backto Image)
Copyright ©, TMT Enterprises 2012